
How to prepare walls for painting is pivotal to a flawless finish. Ensuring walls are blemish-free starts with a thorough inspection. Identify imperfections like cracks or uneven surfaces for seamless repairs.
Cleaning walls meticulously eradicates dirt and grease. Priming establishes a solid foundation, enhancing paint adhesion. Shield adjacent areas with precision using painter’s tape and drop cloths.
The choice of high-quality tools and paint elevates the painting process. Applying paint in stages ensures uniform coverage. Final touches and cleanup showcase attention to detail. Includes a seamless finish that transforms spaces magnificently.
Surface Inspection And Cleaning:

Begin your painting journey with a compassionate examination of your walls. Look closely, almost as if you’re gently listening to what your walls have to say. Use a warm, soft light to uncover any hidden flaws—those tiny cracks or blemishes. This careful inspection sets the stage for a smoother, more refined canvas.
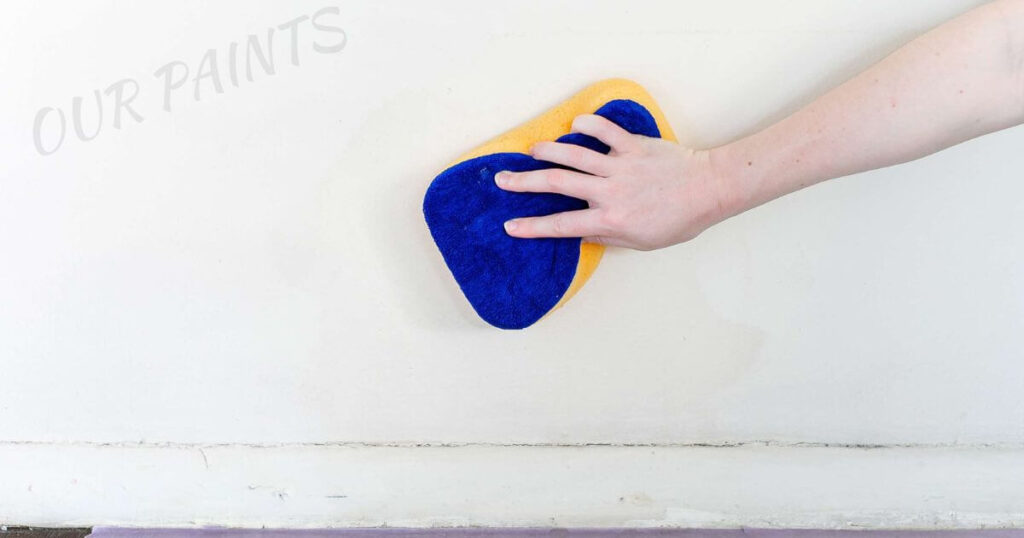
Gentle Purification Ritual:
Dust, dirt, and other unwanted guests might have settled on your walls. It’s time for a tender cleansing session. Wipe away these particles with a soft touch, almost like giving your walls a comforting hug.
This not only prepares them for painting but also ensures the paint adheres better, creating a radiant and enduring finish.
Nurturing Imperfections with Care:
If you discover any imperfections during your examination, treat them kindly. Use a gentle touch to fill in cracks or holes with a high-quality patching compound.
Once these areas are tended to, softly sand them down, like smoothing out wrinkles, ensuring they blend seamlessly into the wall’s story.
Establishing a Primer Foundation:
Think of a primer as a nurturing foundation for your walls. After the repairs and sanding, applying this primer is like offering your walls a supportive embrace.
It enhances paint adhesion and evens out the surface, allowing your paint colors to truly shine. Choose a primer that matches your wall type, providing that extra layer of care for the paint to hold onto.
Tender Protection for Surroundings:
Just like shielding a fragile treasure, your floors and furniture need protection during this process. Lay down soft drop cloths or gentle plastic sheeting to shield these areas from paint drips or spills.
Delicately tape off spots that won’t be painted—this small act ensures the beauty of your surroundings remains untouched.
Choosing Paint with Thoughtfulness:
Selecting the right paint is like choosing a thoughtful gift—it makes all the difference. Consider factors like the wall’s material and the room’s ambiance.
Premium paints not only cover better but also require fewer coats, showing appreciation for your time and budget while delivering an elegant, professional finish.
Repairing Imperfections:
Imagine these imperfections as gentle whispers from your walls, seeking your care. Embrace them tenderly as you embark on the journey of restoration.
Fill those tiny cracks and holes with a nurturing touch, using a high-quality patching compound. Allow these areas the time they need to mend—this patience ensures they seamlessly blend into the wall’s narrative.
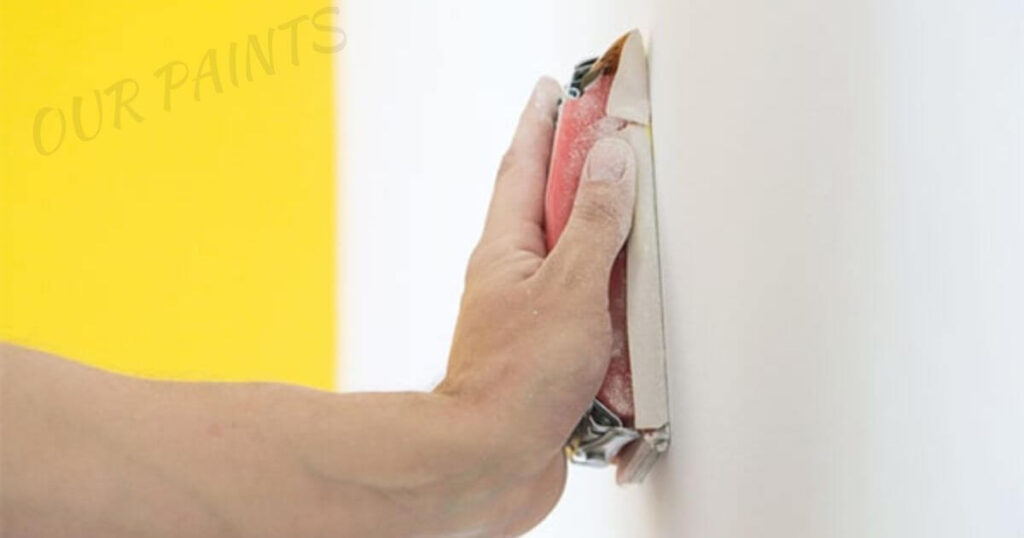
Gentle Sanding for Harmony:
Once these mended areas have been given their space to heal, treat them to a soft sanding session. Picture this sanding as a comforting touch—it smoothes out any roughness, ensuring a harmonious canvas for your paint.
This step is like a conductor fine-tuning an orchestra, ensuring every note resonates beautifully.
Creating a Unified Canvas:
Think of this stage as a delicate artist perfecting their canvas before a masterpiece. With each repair and sanding motion, your walls begin to merge into a unified whole, erasing any imperfections that might detract from the final artwork.
Blending Repairs Seamlessly:
The aim here is to integrate every repair flawlessly into the fabric of your wall. Take a moment to admire the seamless fusion of your efforts. Those once-visible imperfections are now gracefully woven into the canvas of your wall, almost like the gentle strokes of an artist’s brush.
Nurturing Imperfections into Beauty:
It’s this nurturing process that transforms imperfections into opportunities for beauty. This attention to detail not only enhances the wall’s visual appeal but also ensures that the paint glides smoothly across the surface, resulting in a mesmerizing finish.
Priming for Adhesion:
Priming serves as the foundational layer that bridges the gap between the wall surface and the paint. It’s akin to laying the groundwork for a strong and enduring bond between the two.
The primer acts as a mediator, creating a receptive surface for the paint to adhere to, enhancing its longevity and vibrancy.
The Science Behind Priming:
Primers are formulated with specialized compounds that promote adhesion. They contain binders and additives that help create a consistent surface texture, filling in microscopic imperfections, and creating a uniform base.
This meticulous preparation ensures the paint adheres evenly, preventing splotches or uneven coverage.
The Purpose of Primer:
One of the primary roles of primer is to seal porous surfaces. Whether it’s drywall, wood, or masonry, porous surfaces tend to absorb paint unevenly, resulting in patchy finishes.
A primer forms a protective layer, preventing excessive absorption of the paint and allowing for a smoother, more consistent application.
Enhancing Paint Performance:
Think of primer as a performance enhancer for your paint. It optimizes the paint’s performance, ensuring it spreads evenly and requires fewer coats for complete coverage.
This not only saves time and effort but also conserves paint, making it a cost-effective investment in your painting project.
Choosing the Right Primer:
Different surfaces require specific types of primers. There are primers designed for different materials, such as latex-based primers for drywall or oil-based primers for wood.
Understanding the surface you’re working with helps in selecting the appropriate primer, ensuring compatibility and maximum adhesion.
Specialized Primers for Special Surfaces:
Certain surfaces pose unique challenges, such as stains or odors seeping through paint layers. Specialized primers address these issues by blocking stains and odors, offering a clean canvas for your paint to adhere to without compromising its appearance.
Application and Drying:
Applying primer demands attention to detail. It’s essential to follow manufacturer guidelines regarding application techniques and drying times. Adequate drying time allows the primer to set and create the intended base for the paint, ensuring a strong bond between the surface and the topcoat.
Patience for Perfection:
Exercise patience during the priming process. Rushing through this step can compromise the entire painting project. Each moment dedicated to proper priming contributes to a flawless finish that lasts for years to come.
Protecting Surfaces:
Safeguarding surrounding areas during painting is akin to shielding cherished belongings during a storm. It ensures that unintended splatters or spills don’t mar the beauty of your floors, furniture, or fixtures. This precautionary step preserves the integrity of your space and minimizes cleanup efforts.
Preventive Measures for Preservation:
Laying down protective coverings, such as drop cloths or plastic sheeting, act as a gentle shield against accidental paint drips or spills.
These protective layers not only shield surfaces from potential damage but also offer a sense of security, allowing you to focus on the painting process without worrying about collateral harm.
Tender Care for Adjacent Areas:
Consider using painter’s tape as a gentle boundary line between painted and unpainted surfaces. This delicate tape ensures crisp, clean edges and prevents paint from bleeding onto areas you wish to keep untouched. Applying it with precision demonstrates care and consideration for the areas you’re safeguarding.
Shielding with Thoughtfulness:
Be mindful of the intricacies of the space. Delicate fixtures, trim, or decorative elements might require extra protection. Cover these with precision, acknowledging their significance in maintaining the overall aesthetic appeal of the room.
Ensuring Protection’s Efficiency:
The effectiveness of surface protection lies in its thoroughness. Take time to cover every exposed surface, leaving no area vulnerable to accidental paint mishaps. This meticulousness not only prevents damage but also reflects a respectful attitude towards your living space.
Posture of Preparedness:
Preparation is key in safeguarding surfaces. Anticipating potential risks and shielding against them exhibits a proactive approach, preventing any unwanted surprises and allowing for a smooth, uninterrupted painting experience.
Gentle Unveiling and Cleanup:
Once the painting is complete, delicately remove the protective coverings. This cautious removal ensures that no residue or paint marks are left behind on the protected surfaces. Dispose of coverings responsibly, leaving the space as pristine as it was before the painting project commenced.
Gratitude for Careful Handling:
Acknowledging the significance of surface protection in preserving the beauty of your space shows respect and appreciation for your surroundings. It’s a testament to your commitment to maintaining a pristine and well-cared-for environment.
Choosing The Right Paint:
Selecting the right paint is akin to choosing a masterpiece for your walls. It involves thoughtful considerations, understanding the properties of paint, and aligning them with your aesthetic preferences and practical needs.
Quality as a Cornerstone:
Prioritise quality when choosing paint. High-quality paints offer superior coverage, durability, and colour retention. They not only ensure a more vibrant and long-lasting finish but also require fewer coats, saving time and effort in the painting process.
Factors Influencing Paint Choice:
Consider the room’s purpose, lighting, and ambiance. For instance, rooms with high moisture levels, like bathrooms or kitchens, benefit from moisture-resistant or washable paints. Similarly, spaces with ample natural light might require paint with a higher resistance to fading.
Understanding Paint Finishes:
Different paint finishes offer varying aesthetic and functional attributes. Matte finishes provide a velvety appearance but might be less durable, while gloss finishes offer a durable, shiny surface. Understanding these finishes allows you to choose the one that complements your desired look and suits the room’s usage.
Eco-friendly Options:
Opting for environmentally friendly paints contributes to a healthier indoor environment. Look for paints labeled as low-VOC (volatile organic compounds) or zero-VOC, as they emit fewer harmful fumes.
These eco-friendly choices promote better indoor air quality and are safer for both occupants and the environment.
Compatibility with Surface Material:
Consider the material of the surface you’re painting. Different surfaces, like drywall, wood, or metal, may require specific types of paint. Ensuring compatibility between the paint and the surface material ensures optimal adhesion and longevity of the paint job.
Sample Testing:
Before committing to a large quantity of paint, consider testing small samples on the wall. Observing how the paint looks in different lighting conditions and against existing décor allows for confident decision-making and ensures the chosen color complements the room harmoniously.
Consultation and Guidance:
If uncertain, seek advice from paint professionals or designers. They can provide valuable insights regarding color palettes, finishes, and paint types that align with your vision and the practical needs of the space.
Proper Tools And Equipment:

Equipping yourself with the right tools is akin to an artist having their brushes and palette ready. These tools play a pivotal role in achieving a flawless and professional finish.
Brushes and Rollers:
Select high-quality brushes and rollers suitable for the surface texture and paint type. Brushes with synthetic bristles are ideal for latex paints, while natural bristle brushes work well with oil-based paints.
Rollers come in various nap lengths, with longer naps suited for textured surfaces and shorter ones for smooth walls.
Painter’s Tape and Drop Cloths:
Painter’s tape is a delicate yet mighty tool for creating crisp lines and protecting adjacent surfaces from stray paint. It ensures clean edges between walls, ceilings, and trim. Drop cloths or plastic sheets are indispensable in shielding floors, furniture, and fixtures from paint drips or spills.
Paint Trays and Grids:
Invest in sturdy paint trays and grids to hold and evenly distribute paint. Grids within paint trays help remove excess paint from rollers, ensuring a smoother application and minimizing drips.
Ladder or Step Stool:
For areas beyond easy reach, a stable and appropriately sized ladder or step stool becomes a safety essential. Ensure it’s in good condition and positioned securely before use to prevent accidents.
Extension Poles:
Extension poles are valuable for reaching high or expansive areas without having to constantly move the ladder. They offer better control while painting ceilings or tall walls, enhancing efficiency and safety.
Paint Sprayers (Optional):
For larger projects or specific textures, paint sprayers can offer a more uniform application. However, they require expertise for precise control and proper cleanup, making them optional tools for certain projects.
Cleaning Supplies:
Have cleaning supplies readily available for post-painting cleanup. These include paint thinner (if using oil-based paint), soapy water for brushes and rollers, and wipes for quick surface cleaning.
Applying Paint In Stages:
Breaking down the painting journey into stages is like adding layers to a beautiful artwork. It ensures precision, consistency, and a smooth finish across every inch of the surface.
Precision in Detailing:
Begin by delicately “cutting in” or gently edging corners, edges, and trim with a fine angled brush. This careful start creates sharp, clean lines and allows for meticulous detailing where rollers might not reach.
Rolling Across Wider Areas:
Employ a paint roller for larger spaces after the delicate detailing. Apply paint in small sections, moving from top to bottom in a graceful “W” or “M” pattern. This technique evenly spreads paint, preventing streaks or patchy coverage.
Consistency and Care:
Maintain a steady hand while rolling to ensure a smooth paint application. Avoid overloading the roller with paint, which could lead to drips or unevenness. Patience is key—allow each coat to thoroughly dry before adding the next for a flawless finish.
Layering for Depth:
Applying several thin coats rather than one thick layer enhances coverage and creates a vibrant finish. Each Coat adds depth and richness to the color, resulting in a professional and enduring outcome.
Consideration for Textured Surfaces:
When painting textured surfaces like stucco or textured walls, ensure paint reaches into every crevice. A roller with a thicker nap helps paint adhere to these uneven surfaces effectively.
Respecting Drying Time and Refinement:
Allow ample drying time between coats as per the paint manufacturer’s guidance. Once dry, inspect for missed spots or uneven areas. Tend to these promptly for a consistent and refined appearance.
Embracing Detailing:
Paying attention to detail in each stage elevates the final product. Take time to blend edges, ensure a uniform color tone, and address any imperfections for a polished and professional outcome.
Final Touches And Clean-Up:
The final touches represent the culmination of your painting endeavor, adding the last strokes of care and attention to achieve a flawless outcome.
Removing Painter’s Tape:
Gently and carefully remove the painter’s tape from the edges to reveal clean, sharp lines. Pull the tape at a 45-degree angle to prevent any damage or peeling of the freshly painted surfaces.
Inspection for Perfection:
Thoroughly inspect the painted surface for any imperfections, missed spots, or uneven areas. Address these with a small brush or roller to ensure a uniform finish and seamless integration with the rest of the painted surface.
Cleanup of Tools and Equipment:
Dedicate time to clean your painting tools promptly. Wash brushes and rollers thoroughly with soap and water, or according to the manufacturer’s instructions, to maintain their quality for future use. Dispose of used drop cloths or plastic coverings responsibly.
Restoration of Spaces:
Restore the area to its pre-painting state. Remove any remaining protective coverings, ensuring no residue or paint marks are left behind. Return furniture, fixtures, and belongings to their original positions with care.
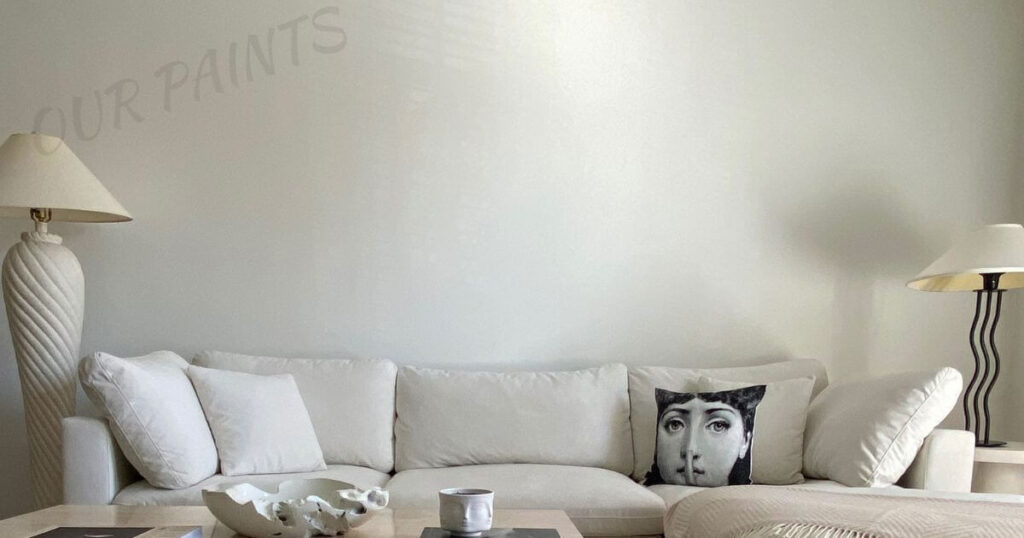
Appreciation of Completed Project:
Step back and admire your finished project. Take pride in the transformation you’ve achieved. The final touches signify the dedication and effort invested in creating a beautifully painted space.
The final touches and clean-up stage are not just about completing the task but about adding finesse and ensuring a clean, polished outcome.
This attention to detail elevates the overall quality of the painting project and leaves a lasting impression of professionalism and care. If you have any specific questions or need further guidance on this stage, feel free to ask!
Conclusion:
Preparing walls for painting involves a sequence of meticulous steps to ensure a flawless finish. It begins with a thorough inspection and cleaning to spot imperfections, like cracks or uneven surfaces, and remove dust and grease.
Repairs follow, addressing any flaws by filling cracks and holes and then smoothing them for seamless integration. Priming becomes essential, creating an optimal base for paint adhesion and ensuring a uniform finish.
Protective measures, like covering adjacent surfaces with drop cloths and selecting the right tools and paint, contribute to a successful painting process.
The final touches involve careful removal of protective coverings, inspecting for imperfections, and addressing them for a polished appearance. Cleaning tools promptly maintain their quality, ensuring they’re ready for future use.
Attention to detail throughout the process guarantees a professional-looking outcome that enhances the overall aesthetic of the space.
Faqs About How To Prepare Walls For Painting:
Why is wall preparation crucial before painting?
Wall preparation is essential as it ensures a smooth and durable finish. It involves cleaning, repairing imperfections, and priming, providing an ideal surface for paint adhesion, preventing future issues, and enhancing the overall appearance of the painted walls.
What is the first step in preparing walls for painting?
The initial step is inspecting the walls for imperfections like cracks, holes, or surface irregularities. A thorough examination helps identify areas that need repair and cleaning, setting the stage for a flawless painting process.
How should I clean walls before painting?
Cleaning involves removing dust, dirt, and grease from the walls. Use a mild detergent solution or a cleaner suitable for the wall surface. Ensure the walls are completely dry before proceeding to repairs or applying primer.
What are the key aspects of repairing wall imperfections?
Repairing involves filling cracks and holes with a suitable patching compound, followed by sanding to achieve a smooth surface. This step ensures that the walls are free of blemishes, creating an even canvas for painting.
Why is priming necessary before painting?
Priming serves as a crucial preparatory step. It seals the surface, enhances paint adhesion, and promotes a uniform finish. It’s particularly essential for achieving consistent color and ensuring the paint lasts longer.
Can I skip priming before painting?
It’s not advisable to skip priming. While some paints claim to be paint-and-primer-in-one, priming ensures better paint adhesion, especially on porous surfaces. It creates an optimal base for the paint, resulting in a more professional and long-lasting finish.
How long does the wall preparation process usually take?
The time taken for wall preparation depends on the condition of the walls and the extent of repairs needed. It can range from a day to several days, including inspection, cleaning, repairing, drying time between steps, and applying primer.
1 thought on “How To Prepare Walls For Painting”