

Preparing walls for painting is an art that transforms spaces and elevates aesthetics. This meticulous process ensures a flawless canvas for the paint, enhancing longevity and visual appeal.
From cleaning and repairing to priming and painting, each step is a brushstroke toward perfection. Let’s delve into the details, exploring the nuances of wall preparation, and uncovering the secrets that lead to a professional-grade finish.
This journey begins with a blank canvas, and with each step, it transforms into a masterpiece, breathing life into your living spaces. Discover the intricacies of how to prep walls for painting and unlock the potential of your home’s interior.
Cleaning And Clearing Surfaces:
Cleaning and clearing surfaces is the foundational step in preparing walls for painting, crucial for achieving a flawless finish that enhances the aesthetics of any space. This initial phase sets the stage for subsequent processes, ensuring the paint adheres properly and the final result is pristine.
Thorough Surface Inspection and Preparation
Before starting, it’s essential to evaluate the walls meticulously. Remove any furniture, fixtures, or objects obstructing access to the walls. Dust and debris can accumulate over time, so using a vacuum cleaner with a brush attachment or a microfiber cloth to gently wipe down the walls helps eliminate loose particles.
Inspecting the walls at this stage is pivotal. Look for grease spots, stains, or areas with heavy dirt buildup. Address these issues by employing mild detergent solutions or specialized wall cleaners. Stubborn stains might require more attention and gentle scrubbing using a sponge or soft-bristled brush.
Importance of Clearing Surfaces
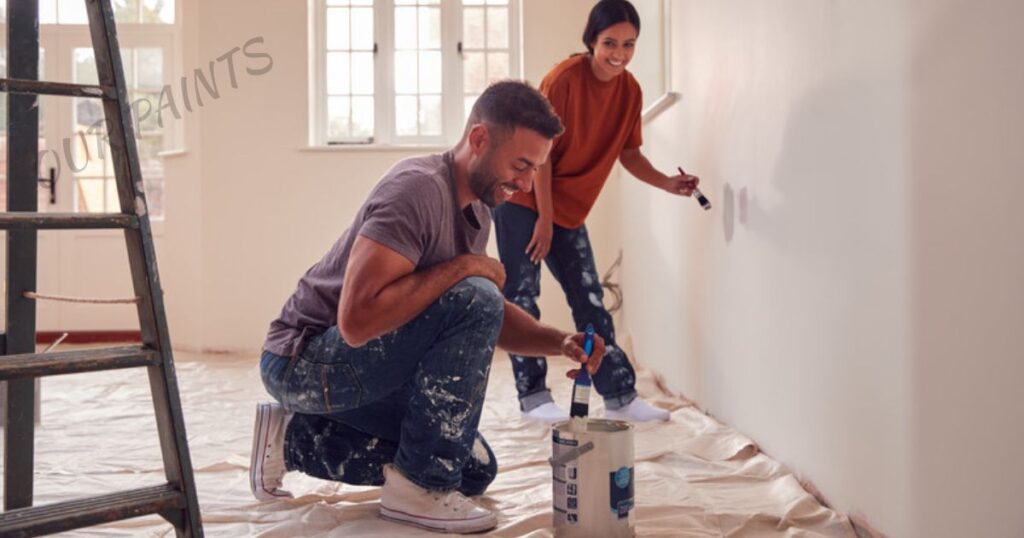
Clearing the walls not only ensures a cleaner painting surface but also prevents potential hindrances during the painting process. Moving furniture out of the way reduces the risk of accidental paint splatters or damage to belongings.
Protecting floors with drop cloths or tarps shields them from any spills or drips, maintaining their integrity. Once the surfaces are cleared and cleaned, the walls are ready for the subsequent steps in the preparation process.
This initial meticulous cleaning lays the groundwork for successful paint adhesion and a professional-quality finish.
Addressing Wall Texture
Different wall textures might require specific cleaning techniques. For example, textured walls such as popcorn or stucco might accumulate more dust and debris in their crevices. Using a vacuum cleaner with a brush attachment or a soft-bristled brush can effectively remove dirt from these textured surfaces without damaging them.
Importance of Dust Removal
Removing dust is critical before painting, as it ensures the paint adheres uniformly without any blemishes or inconsistencies. Dust particles can interfere with paint adhesion, leading to an uneven finish.
Employing microfiber cloths or tack cloths post-cleaning ensures the removal of any residual dust, guaranteeing a clean canvas for the paint application process.
This thorough and attentive approach to cleaning and clearing surfaces establishes a solid foundation for the subsequent steps in wall preparation, ultimately contributing to a flawless paint finish that revitalizes the ambiance of any room.
Repairing Imperfections:
Repairing imperfections on walls is an essential step in the painting process, ensuring a smooth and flawless finish that enhances the overall appearance of the space. Addressing cracks, holes, and dents effectively guarantees that the painted surface will be pristine and free of any visible flaws.
Assessing Wall Imperfections
Begin by carefully examining the walls for any visible damage. Common issues include cracks due to settling, holes from nails or screws, or dents caused by impacts. Identifying these imperfections early on is crucial for effective repair.
Filling and Patching Techniques
Once identified, repairing these imperfections involves using suitable fillers or putties. Opt for high-quality spackling paste or joint compound to fill in small cracks and holes. Apply the filler with a putty knife, ensuring it’s pressed firmly into the imperfection and smoothed out.
For larger holes or deeper dents, multiple layers may be required, allowing each layer to dry before applying the next.
Sanding for Seamless Surfaces
After the filler has dried completely, sanding the patched areas is crucial. Use fine-grit sandpaper to smooth the surface until it’s level with the surrounding wall. Sanding not only ensures a seamless finish but also promotes better paint adhesion, creating an even canvas for the paint to adhere to.
Proper Filing Techniques
The key to effective repair lies in the application of the filler. Ensuring that the filler is applied generously but smoothly prevents future cracking or crumbling. Feathering the edges of the filler helps seamlessly blend it with the wall surface, reducing visible transitions between the patched area and the rest of the wall.
Importance of Drying Time
Allowing ample drying time between filling, layering, and sanding is crucial. Rushing through this process can compromise the integrity of the repair, leading to uneven surfaces or visible patches under the paint.
Patience is key; follow the manufacturer’s recommendations for drying times to achieve optimal results. By meticulously addressing imperfections, filling gaps, and achieving a smooth, level surface through proper filling and sanding techniques, you create an ideal foundation for the paint application.
This attention to detail ensures that the repaired areas seamlessly integrate with the rest of the wall, resulting in a flawless and professionally finished look.
Removing Old Paint Or Wallpaper:
Removing old paint or wallpaper is a critical step in preparing walls for painting, ensuring a clean and smooth surface that allows new paint to adhere effectively. This process involves eliminating any existing layers of paint or wallpaper that may interfere with the quality and longevity of the new paint job.
Evaluating the Surface
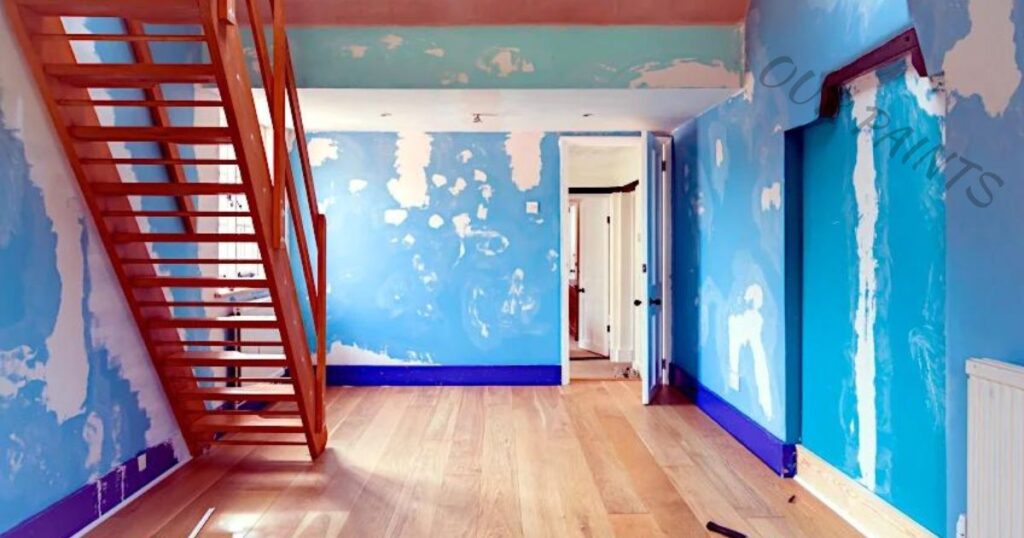
Before removal, assess the condition of the existing paint or wallpaper. Check for signs of peeling, bubbling, or flaking, as well as any areas where the paint or wallpaper might be loose or lifting. Identifying these areas helps determine the extent of removal required.
Removing Old Paint
For old paint removal, various methods can be employed depending on the type of paint and surface. Scraping using a putty knife or paint scraper is effective for peeling or loose paint. Sanding can be used to smooth rough areas or remove stubborn paint.
Chemical paint strippers or solvents may also be utilized, following safety precautions and manufacturer instructions.
Stripping Wallpaper
Removing wallpaper involves different techniques. Using a wallpaper steamer or applying a wallpaper removal solution helps loosen the adhesive, making it easier to peel off the wallpaper. Scoring the wallpaper with a scoring tool before applying the solution can enhance its effectiveness.
Safe Paint Removal Practices
When using chemical paint strippers or solvents, prioritize safety. Ventilate the area properly, wear protective gear such as gloves and a mask, and follow the manufacturer’s instructions meticulously to prevent any health hazards.
Wallpaper Removal Tips
While removing wallpaper, working in sections and allowing the removal solution or steam to penetrate adequately before peeling can make the process more efficient. Using a broad putty knife or wallpaper scraper helps lift the wallpaper without damaging the wall surface.
Repairing After Removal
Once the old paint or wallpaper is removed, assess the wall for any damages or residue. Repair any scratches, gouges, or remaining adhesive to ensure a smooth and even surface. Sanding may be necessary to remove any remnants or adhesive residue.
By thoroughly removing old paint or wallpaper and addressing any resulting imperfections, you create an optimal canvas for the new paint application. This meticulous process ensures that the new paint adheres evenly and results in a professional and long-lasting finish for your walls.
Priming The Walls:
Priming the walls is a crucial step in the painting process that often gets overlooked but plays a pivotal role in achieving a flawless and long-lasting finish. Priming acts as a foundation for the paint, providing a uniform surface and enhancing paint adhesion.
Purpose and Importance of Priming
Priming serves multiple purposes, including sealing the wall surface, providing a consistent base for paint application, enhancing color accuracy, and promoting better durability of the paint job. It helps prevent uneven absorption of paint and ensures a smooth, professional-looking finish.
Choosing the Right Primer
Selecting the appropriate primer is essential based on the wall surface and the type of paint being used. There are various types of primers available, such as latex, oil-based, or shellac-based primers.
Consider factors like the wall material, whether it’s drywall, plaster, or previously painted walls, and any specific issues like stains or odors that need addressing.
Application Techniques
Before applying the primer, ensure the surface is clean, dry, and free of dust or debris. Use a high-quality paint roller or brush to apply the primer evenly across the walls. Cutting in along edges and corners with a brush and then rolling the primer onto larger surfaces ensures comprehensive coverage.
Addressing Specific Issues
Certain primers are designed to tackle specific problems. For instance, stain-blocking primers are effective in covering up water stains, smoke damage, or other discolorations. Using these specialized primers can prevent such imperfections from bleeding through the paint.
Primer Drying and Curing Time
Understanding the drying and curing times of the primer is crucial. Allow sufficient time for the primer to dry completely before applying paint. Follow the manufacturer’s recommendations regarding drying times to ensure optimal adhesion and durability of the paint.
Sanding and Finishing
After the primer has dried, lightly sanding the walls with fine-grit sandpaper helps smoothen any imperfections and ensures an even surface for the paint. Wipe down the walls with a tack cloth to remove any sanding dust before proceeding with the paint application.
By priming the walls effectively, you create an ideal surface for the paint to adhere to, resulting in a more uniform and durable finish. This essential step significantly contributes to the overall quality and longevity of your painting project.
Sanding For Smoothness:
Polishing the wall surface through sanding is a pivotal and friendly step in the preparation process, significantly contributing to achieving a flawless, professional appearance. This gentle process involves smoothing the wall surface, eliminating imperfections, rough spots, and inconsistencies, creating an ideal canvas for the delightful application of paint.
The Gentle Art of Sanding
Sanding plays a vital role in ensuring a soft and even surface for the paint to gracefully adhere to. It delicately removes bumps, rough patches, and lingering textures from previous paint or repairs, promoting a warm embrace of paint and resulting in a more polished, inviting final appearance.
Choosing Sandpaper Thoughtfully
Selecting the right sandpaper is a thoughtful endeavor. Opt for a kinder grit, like 80 or 100, for smoothing out rough surfaces or gently removing layers of old paint. Finer grits, such as 120 or 150, gracefully contribute to achieving a smoother finish, making the surface an inviting canvas before the painting dance begins.
The Dance of Sanding Techniques
Commence with the gentle dance of sanding, moving your hand in a circular or back-and-forth motion across the wall surface. Focus tenderly on areas with imperfections or rough textures.
Be mindful not to overindulge in sanding, as it could potentially cause harm to the wall surface. Utilize a sanding block or a soft sanding pole for larger areas, ensuring a gentle and uniform performance.
A Soft Touch After Repairs
After attending to wall imperfections, extend a soft touch through sanding once the filler or spackling compound has gently settled. Lovingly the patched areas, allow them to seamlessly blend with the surrounding wall, creating a tender and uniform surface for the painting embrace.
Embracing Dust Removal and Cleaning
After the gentle sanding, embrace the removal of dust with tenderness. Use a vacuum with a gentle brush attachment or a soft tack cloth to tenderly eliminate all traces of sanding residue.
It is essential to commence the painting process with a surface that feels clean and inviting, ensuring a delightful and flawless finish.
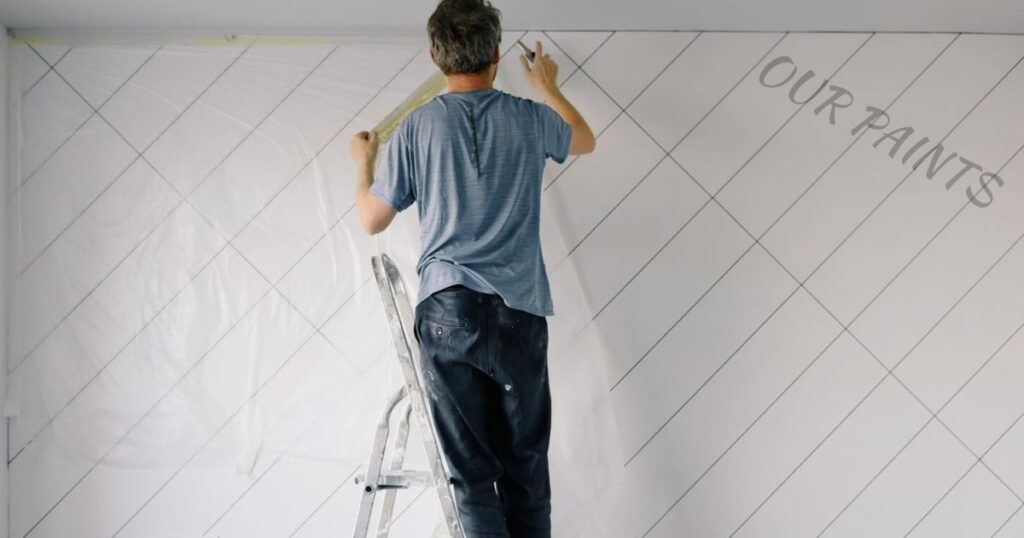
Taping And Protecting Fixtures:
Importance of Precise Taping
Taping and protecting fixtures are critical for achieving clean, professional paint lines and safeguarding adjacent surfaces. Utilise high-quality painter’s tape to delineate edges, ensuring crisp lines between different surfaces and preventing paint bleed.
Proper Tape Application Techniques
Applying painter’s tape requires precision. Press the tape firmly along the edges to create a tight seal, preventing paint from seeping underneath. Use a putty knife or your fingernail to ensure the tape adheres securely to the surface, especially around corners and edges.
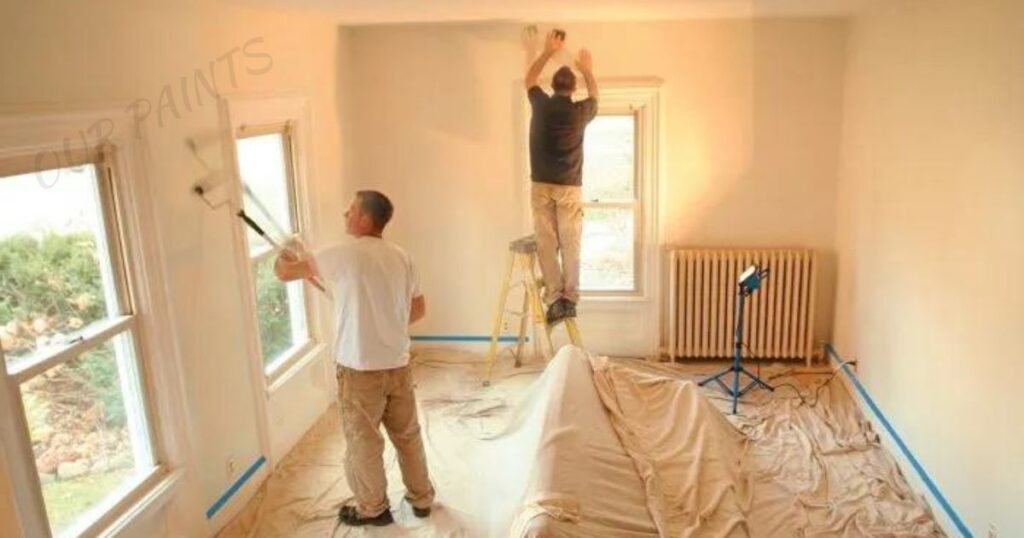
Protecting Adjacent Surfaces
While painting, adjacent surfaces like baseboards, trims, or ceilings need protection from accidental paint splatters. Cover these areas with tape, ensuring they’re completely shielded. Take extra care when taping delicate surfaces to avoid damage.
Fixture Protection for a Flawless Finish
Safeguarding fixtures, such as switches, outlets, or hardware, is crucial to maintain their functionality and appearance during the painting process. Painter’s tape serves as a shield against paint while allowing easy removal without residue.
Precision in Covering Fixtures
When covering switches or outlets, turn off the power before applying tape. Cover them securely with tape, ensuring no gaps where paint could seep through. This precision prevents the paint from affecting its functionality or aesthetics.
Detail-Oriented Approach
Pay attention to the finer details. Protect hardware, like door knobs or handles, using tape to preserve their finish. Meticulously taping off these fixtures ensures a seamless painting process and preserves the overall visual appeal of the room.
Taking the time to tape and protect fixtures not only ensures a clean and professional paint job but also preserves the integrity and functionality of the surrounding elements. Attention to detail in tape application and fixture protection leads to a flawless, polished finish that enhances the overall aesthetic of the space.
Choosing The Right Paint And Tools:
The Paint Palette: Choosing Quality
Opt for high-quality paint that suits the specific needs of your project. Consider factors like the wall surface type (drywall, plaster, etc.), the desired finish (matte, satin, glossy), and any environmental considerations. Quality paints offer better coverage, durability, and color retention, enhancing the longevity of your paint job.
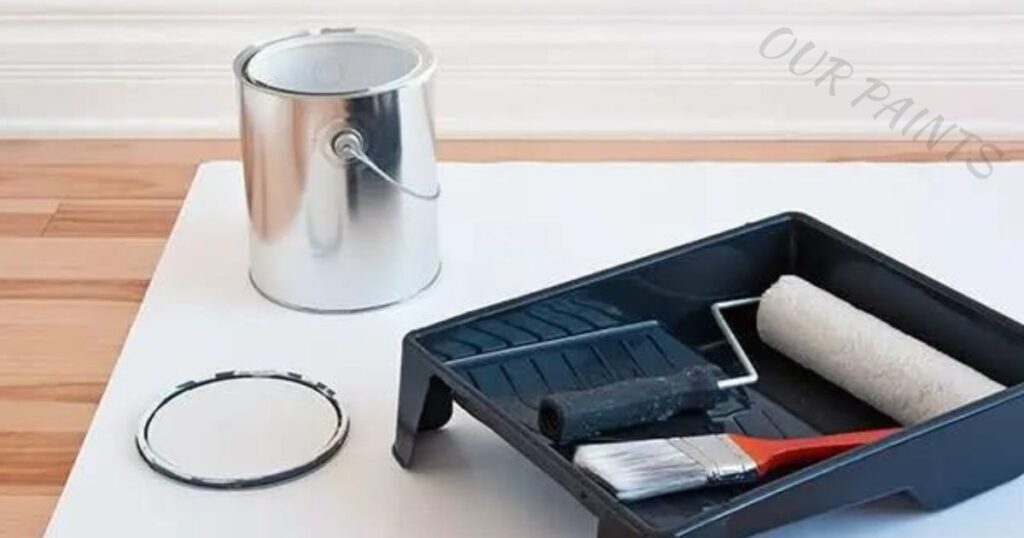
Tools of the Trade: Brushes, Rollers, and More
Invest in quality brushes, rollers, or sprayers suitable for your chosen paint type and surface texture. Different surfaces may require specific application tools for optimal results. Quality tools contribute to smoother application, better coverage, and a professional finish.
Brushing Brilliance
Select brushes with the appropriate bristle type and size for precision and ease of use. A high-quality brush with the right bristle material ensures smooth application, especially in corners and intricate areas.
Rolling to Perfection
Choose rollers that match the texture of your walls – smooth, semi-smooth, or rough. Foam, synthetic, or natural fiber rollers offer different finishes. A high-quality roller provides even coverage and minimizes streaking or texture inconsistencies.
The Right Paint for the Right Purpose
Consider specialty paints if needed, such as primers, stain-blocking paints, or paints with added features like mold resistance or easy washability. Understanding the unique qualities of each paint type ensures optimal performance in specific areas of your home.
Tool Maintenance and Preparation
Before painting, ensure your tools are clean and in good condition. Properly clean brushes and rollers after each use to maintain their effectiveness and longevity. Prepare the workspace by covering floors and furniture to protect them from accidental spills or splatters.
Specialty Considerations
For specific areas like bathrooms or kitchens, consider moisture-resistant or mould-inhibiting paints. For high-traffic areas, opt for durable paints that withstand scrubbing or frequent cleaning without losing color or finish quality.
Environmentally Friendly Options
Explore eco-friendly paint options, such as low-VOC or zero-VOC paints, which emit fewer harmful chemicals. These paints are safer for indoor air quality and contribute to a healthier home environment.
By thoughtfully selecting quality paint and tools tailored to your project needs, you ensure a smoother application process, superior finish, and longer-lasting results. The right choices contribute significantly to a successful and satisfying painting endeavor, transforming your space with lasting beauty.
Applying Paint In Proper Technique:
Applying paint with the proper technique is an art that defines the final outcome of your painting project, contributing significantly to a flawless and professional finish. The process involves meticulous attention to detail and methodical steps to ensure even coverage and a beautiful result.
Layering for Perfection
Begin by applying paint in multiple thin coats rather than one thick layer. This technique allows for better control and minimizes drips or unevenness. Start with a primer coat if necessary, followed by successive layers, allowing each coat to dry completely before applying the next.
Brushing and Rolling: The Right Approach
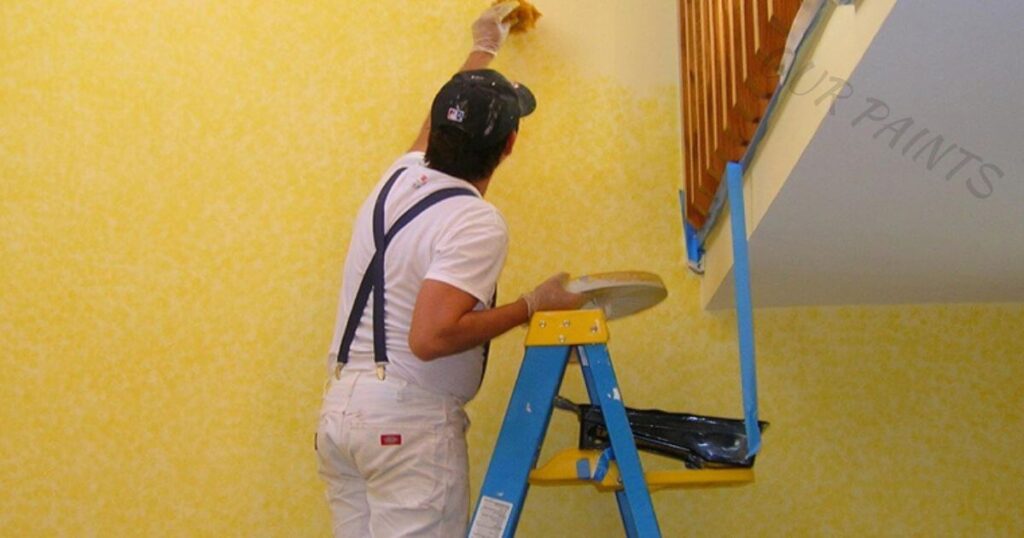
When using brushes, apply paint using smooth and even strokes. Start from the corners and edges, working towards the center for a seamless blend. Use the appropriate brush size for different areas, ensuring precision and coverage.
For larger surfaces, employ rollers in a “W” or “M” motion to evenly distribute paint. Avoid pressing too hard on the roller to prevent excessive paint buildup. Roll consistently to maintain uniform coverage and texture across the entire surface.
Edging and Cutting-In Precision
Master the art of edging and cutting in for clean lines. Use painter’s tape as a guide for sharp edges along ceilings, baseboards, and trims. A high-quality angled brush aids in precise cutting-in, allowing for a smooth transition between painted and unpainted areas.
Patience for Superior Results
Allow each coat to dry thoroughly before proceeding to the next. Rushing through layers can lead to uneven drying and compromise the quality of the finish. Optimal drying times ensure a seamless, durable, and professional-looking result.
Blending and Consistency
Maintain a consistent pressure and technique throughout the painting process. Blend the paint sections while they’re still wet to avoid visible lines or edges between coats. Consistency in application technique ensures a uniform finish across the entire surface.
Final Touches and Clean-Up
After the final coat, carefully remove the painter’s tape while the paint is still slightly damp to achieve clean, crisp lines. Check for any touch-up areas or imperfections and address them promptly for a flawless final presentation.
Properly clean brushes, rollers, and any spills or drips to maintain your tools and the surrounding area. By mastering the proper painting technique, you elevate the quality of your project, ensuring a stunning, professional-grade finish that revitalizes and enhances your space.
Each step, when executed with precision and care, contributes to a visually captivating and long-lasting result.
Conclusion:
Preparing walls for painting is a meticulous process that sets the foundation for a successful and aesthetically pleasing paint job. From cleaning and repairing imperfections to priming, sanding, and choosing the right tools and paint, each step contributes significantly to the overall quality of the finish.
Attention to detail, proper techniques, and the use of high-quality materials ensure a smooth and durable surface for the paint to adhere to, resulting in a professional-grade outcome.
By investing time and effort in wall preparation, you not only enhance the visual appeal of your space but also ensure the longevity of the paint job, creating an inviting and refreshed ambiance within your home or workspace.
Ultimately, the meticulous preparation work leads to a stunning and enduring finish that transforms your walls into captivating focal points.
Faqs About How To Prep Walls For Painting:
Why is wall preparation essential before painting?
Proper wall preparation is crucial as it ensures a clean, smooth surface for the paint to adhere to. It helps in achieving a flawless finish, enhances paint durability, and prevents issues like peeling or uneven coverage.
Can I skip cleaning the walls before painting?
It’s not advisable. Cleaning removes dirt, grease, and grime, allowing the paint to adhere better. Skipping this step can lead to poor paint adhesion, resulting in a less durable and uneven finish.
Do I need to prime the walls before painting?
Priming is recommended as it seals the surface, covers imperfections, and enhances paint adhesion. It’s particularly useful for new walls, repairing patches, or when transitioning between different surfaces or colors.
How important is sanding before painting?
Sanding smoothens the surface, eliminates imperfections, and helps the paint adhere evenly. It’s crucial, especially after repairs or when dealing with rough surfaces, to ensure a professional-looking outcome.
Can I use any paint for any surface?
Different surfaces require specific types of paint. For instance, use latex paint for drywall and acrylic for masonry. Using the right paint ensures better adhesion and longevity.
Is taping necessary when painting walls?
Taping is essential for creating clean lines and protecting adjacent surfaces like trims or ceilings. It helps in achieving a polished finish without accidentally painting unwanted areas.
How long should I wait before painting newly patched areas?
Allow ample drying time for patches or repairs. Follow the manufacturer’s guidelines for drying times to ensure that the surface is fully cured and ready for painting, usually around 24 hours or as specified.