
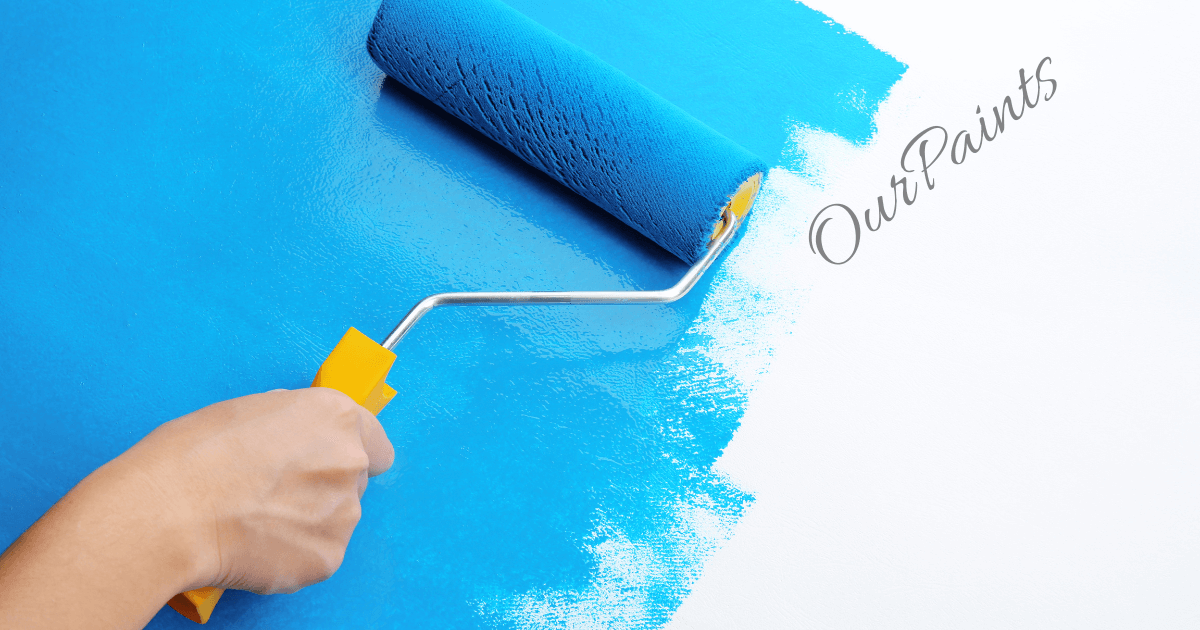
You are working on a new painting task and you’ve decided to apply gesso as the primer. You practice the gesso on the floor and begin to feel a bit impatient- you want to begin painting already! You are probably tempted to try and accelerate the drying manner through the use of heat lamps or hair dryers. But is this actually an excellent concept?
One of the essential challenges that people have whilst using gesso is the drying procedure. Gesso is a mixture of water and pigment, so it takes some time for the water to evaporate and for the gesso to dry. This may be irritating for people who want to start portraying it right now.
In a few cases, human beings might also attempt to accelerate the drying method with the aid of the usage of heat lamps or hair dryers. But, this will harm the surface of the task and motivate the paint to peel off.
I understand how you feel. It may be sincerely irritating whilst you’re seeking to do something and it looks as if the universe is conspiring in opposition to you. That is mainly proper in relation to drying gesso. The process can seem painfully slow, and it is easy to get impatient.
If you attempt to speed up the procedure by using heat lamps or hair dryers, you could damage your assignment and smash all of your tough paintings. As an artist, I understand the importance of gesso and the need to know “How long does it take for Gesso to dry?”
What is Gesso and Its Purpose?
Gesso is a white, paint-like substance that is used as a primer or preparatory coat on various surfaces before painting. It serves several important purposes in the world of art and painting:
Surface Preparation:
Gesso is applied to surfaces like canvas, wood, paper, or board to prepare them for painting. It creates a smooth, even, and slightly textured surface that improves the adherence of paint and prevents it from being absorbed directly into the support material, which could cause discoloration or deterioration over time.
Sealing and Protection:
Gesso acts as a barrier between the support material and the paint. This prevents the paint from coming into direct contact with the surface, which can protect the underlying material from degradation. For example, on canvas, gesso can help prevent the acidic oils in paint from deteriorating the canvas fibers.
Surface Texture Control:
Depending on the desired texture, gesso can be applied in multiple layers and sanded between coats to create a smooth or textured surface. This texture control allows artists to achieve specific effects and styles in their paintings.
Acrylic and Oil portray Compatibility:
Gesso is available in both acrylic and oil-based formulations, making it suitable to be used with acrylic and oil paints. It guarantees that the selected paint adheres properly to the floor, no matter the sort.
Mild reflection:
The white coloration of gesso offers a vibrant and reflective surface that complements the luminosity of the colors implemented on the pinnacle. That is especially essential in oil painting, where the luminosity of colors is a key detail.
Correction and Re-working:
Whilst a mistake is made in the early stages of a painting, gesso can be used to cover and correct mistakes, allowing the artist to begin over on a clean floor.
Archival Quality:
High-quality gesso is formulated to be pH-neutral and to provide a protective barrier that ensures the longevity and archival quality of the artwork.
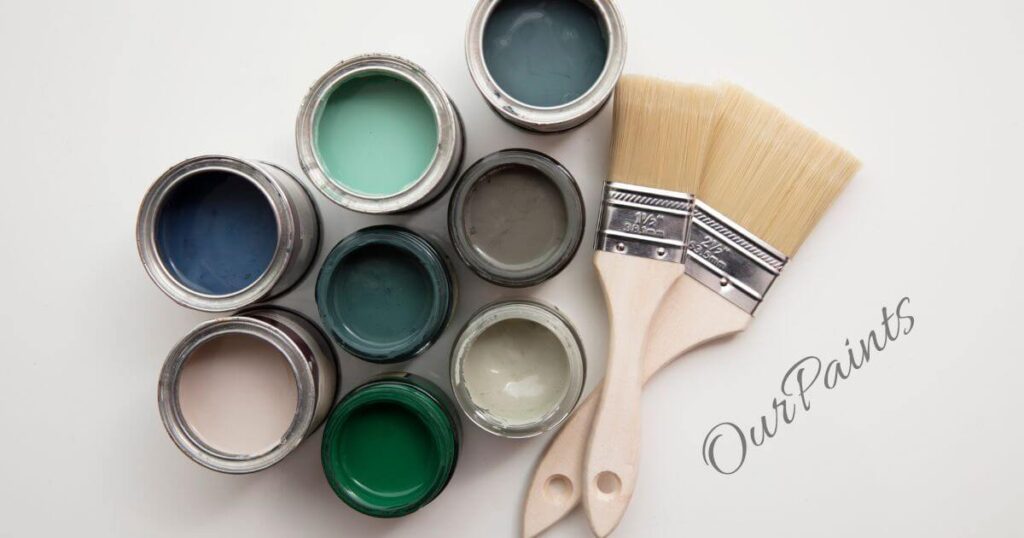
Gesso is a versatile tool for artists and is essential for various painting techniques and styles. It can be purchased pre-made or prepared at home by mixing a variety of substances, including calcium carbonate or marble dust with a binding medium, such as acrylic polymer or rabbit skin glue, to create the desired consistency and texture.
Average Drying Time for Gesso:

The average drying time for gesso, under typical conditions, can vary but is usually as follows:
To the Touch:
Gesso often dries to the touch within 15 to 30 minutes. This means the floor will no longer feel wet or cheesy when you lightly contact it.
Floor equipped for extra Coats of Paint:
It’s usually recommended to attend at least 1 to 2 hours before making use of additional coats of gesso or beginning to paint over it. This lets in the gesso to dry sufficiently for further layers.
Complete Drying:
Gesso can take numerous hours to dry completely, especially if it’s been implemented in thick layers. In many cases, it is a terrific practice to allow at least 24 hours of drying time before portraying the gesso. For particularly thick programs, it can take even longer to dry through and through.
Suggestions to hurry Up the Drying technique of Gesso:
In case you want to speed up the drying process of gesso, you could follow the pointers:
Use Thin Layers:
Apply gesso in thin, even layers. Thicker layers take longer to dry, so if you need your gesso to dry more quickly, avoid applying it too thickly.
Warm and Dry Environment:
Place your artwork in a warm, dry room. Warmer temperatures help accelerate drying. If possible, use a room with low humidity.
Ventilation:
Ensure proper ventilation in the room. Good airflow helps moisture evaporate more quickly. However, avoid placing your artwork in direct drafts, as this can cause uneven drying.
Use an Air Dryer:
A hairdryer or a fan set on a low, cool setting can help speed up the drying process. Keep the dryer or fan at a safe distance to avoid overheating or cracking the gesso.
Gesso Type:
If you have a choice, use acrylic gesso, as it dries faster than oil-based gesso. Acrylic gesso can dry to the touch in as little as 15-30 minutes.
Heating Pad or Light Source:
Placing your artwork on a heating pad set to a low temperature or under a gentle heat lamp can accelerate drying, especially in cool environments. Be cautious now not to overheat the gesso, that may lead to problems.
Pre-warm the guide:
If you’re operating on a wooden panel, for instance, you may locate it in a warm place before making use of gesso to help speed up the drying process.
Gesso additives:
A few artists upload additives like a drying retarder to gesso to sluggish down the drying time, but you may additionally use components to speed it up. Be cautious when experimenting with additives, as they can affect the gesso’s properties.
Properly Prepare the Surface:
Ensure the surface you’re applying gesso to is clean, dust-free, and properly prepared. Proper surface preparation can help the gesso adhere better and dry more uniformly.
UV Light:
Some artists expose gesso to ultraviolet (UV) light to promote faster drying. UV light can increase the cross-linking and drying of acrylic gesso. Be cautious with this method, as excessive UV exposure may affect the quality of the gesso or the support material.
How to Test if Gesso is Fully Dry:
Testing whether the gesso is fully dry is crucial before you begin painting on it. Here are some methods to determine if your gesso is completely dry:
Visual Inspection:
The most straightforward method is a visual inspection. Look closely at the gessoed surface. If it appears uniform in color, has lost its sheen, and there are no visible wet or shiny areas, it is likely dry. Be thorough and inspect the entire surface, especially the edges and corners.
Touch Test:
Gently touch the surface with the back of your hand or your fingertips. If it feels cool or damp, the gesso is not completely dry. When it’s fully dry, it should feel at room temperature and not tacky to the touch.
Thumb Test:
Press your thumbnail into an inconspicuous area of the gessoed surface with moderate pressure. If the gesso indents or feels soft, it’s not dry. Fully dried gesso should be hard and resist any indentation.
Smell Test:
Freshly applied gesso may have a distinct chemical smell. When it’s fully dry, this odor should dissipate, indicating that the gesso has cured.
Drying Time:
Follow the recommended drying time provided by the gesso manufacturer. If you’ve allowed the gesso to dry for the specified duration or longer, it’s more likely to be fully dry.
Solvent Test (for acrylic gesso):
If you’re using acrylic gesso and still have doubts about its dryness, you can perform a solvent test. Dab a small, inconspicuous area with a cotton swab soaked in water or acrylic paint thinner. If the gesso doesn’t lift or soften, it’s fully dry. Be careful not to rub aggressively, as this might damage the gesso.
Weight Test:
Place a lightweight object, such as a piece of paper, on the gessoed surface for a short period (a few seconds) and then remove it. If the paper doesn’t stick or leave marks, the gesso is likely dry. Avoid using heavy objects that might damage the gesso or leave impressions.
Factors Affecting the Drying Time of Gesso:
The drying time of gesso can be encouraged via numerous factors, and it is vital to recollect these variables to make sure that your gesso software dries properly and is ready for portrayal. Some of the key elements affecting the drying time of gesso consist of:
Gesso Formulation:
Different brands and types of gesso may have varying formulations that affect drying time. Read the manufacturer’s instructions for specific guidance on the product you’re using.
Thickness of Application:
Thicker layers of gesso will take longer to dry than thin layers. If you apply gesso in multiple coats, allow each coat to dry before applying the next. Thick layers may take several hours or more to dry completely.
Environmental Conditions:
- Temperature:
Warmer temperatures generally lead to faster drying times, while cooler temperatures can slow down the drying process. - Humidity:
High humidity can extend drying times, as moisture in the air can interfere with the evaporation of water in acrylic-based gesso. Lower humidity can promote faster drying. - Ventilation:
Adequate ventilation can help speed up the drying process by allowing moisture to dissipate more quickly. However, avoid direct drafts or airflow, as this can cause uneven drying and potential cracking.
Support Material:
The type of surface you’re applying gesso to can influence drying time. For example, gesso may dry faster on a wooden panel compared to a canvas because wood is less absorbent.
Application Method:
The way you apply gesso can also impact drying time. Using a brush, roller, or palette knife will result in different thicknesses and drying times. A thin, even application will dry faster than a thick, uneven one.
Additives and Extenders:
Some artists may add additives or extenders to gesso to alter its drying properties or texture. These additives can impact drying time, so be mindful of what you mix into your gesso.
Preparation of the Surface:
The surface’s condition before applying gesso can influence drying time. A surface that is clean, free of dust, and properly prepared (e.g., sanded or primed) will allow the gesso to adhere better and may dry more uniformly.
Layering and Sanding:
If you’re applying multiple layers of gesso and sanding between coats to achieve a specific texture, each layer will require its own drying time, and sanding may extend the overall drying time.
Gesso Type:
Gesso can be found in both acrylic and oil-based formulations. Acrylic gesso generally dries faster than oil-based gesso. The choice of gesso type should align with the type of paint you plan to use.
Ambient Light:
Ultraviolet (UV) light can affect the drying time of gesso. UV exposure can lead to increased cross-linking and drying of acrylic gesso. Conversely, gesso in the dark may take longer to dry.
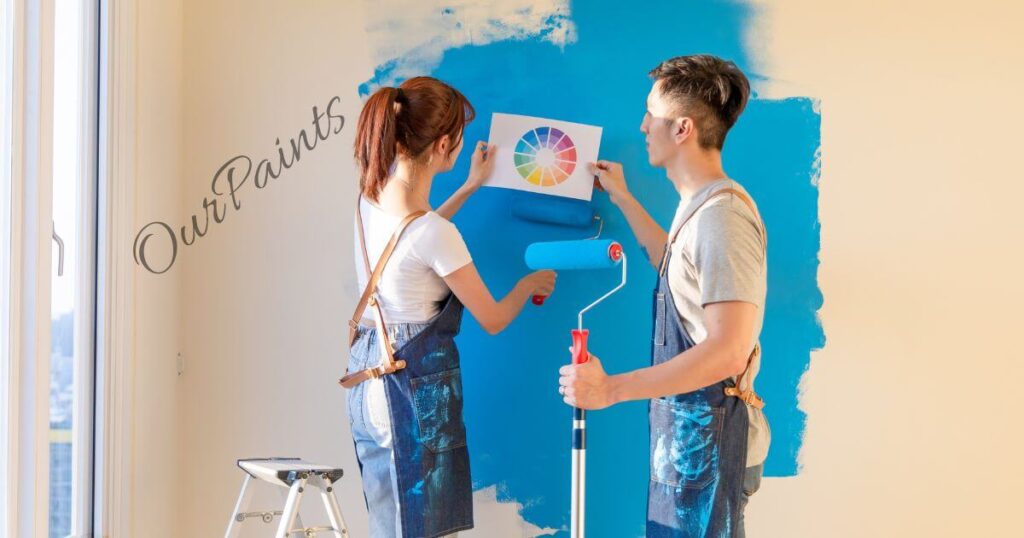
To ensure the right drying of gesso, it’s fine to follow the producer’s pointers, not forget the environmental conditions, practice gesso in skinny, even layers, and permit sufficient drying time among coats. This can assist you in creating a solid and suitable floor for your artwork.
Common Mistakes to Avoid When Working with Gesso:
When working with gesso, there are several common mistakes that artists may make. Avoiding these mistakes can help you achieve a better-prepared surface for your artwork and prevent issues down the line. Here are some common gesso-related mistakes to be mindful of:
Not Preparing the Surface:
Failing to properly prepare the surface before applying gesso can lead to adhesion issues. Sanding, cleaning, and priming the surface, as needed, are important steps to ensure gesso adheres well.
Thick and Uneven Application:
Applying gesso too thickly or unevenly can result in a surface that’s difficult to work on. It may also lead to extended drying times and cracking. Apply gesso in thin, even layers, and let each layer dry before adding more.
Insufficient Drying Time:
Rushing the drying process can cause problems. Always allow the gesso to dry fully before painting over it. If you’re in a hurry, use methods to speed up drying without compromising quality.
Neglecting the Edges:
Don’t forget to apply gesso to the edges of the canvas or support. Neglecting the edges can lead to uneven paint absorption and affect the overall appearance of your artwork.
Not Testing for Dryness:
Failing to test whether the gesso is fully dry can result in problems when applying paint. Make sure the gesso is completely dry before you start painting.
Overmixing Additives:
If you’re using additives or extenders with gesso, be cautious not to overmix. Adding too much extender or a drying retarder can affect the gesso’s performance and drying time.
Inadequate mixing:
If you’re making your gesso at home using a mixture of materials like calcium carbonate and a binding medium, make certain you blend it very well to achieve a regular texture.
No longer Sealing raw wooden well:
If gesso is applied to raw wood, it’s essential to seal the wood first with a sealer or the perfect layer to prevent any chemical substances from the wood from affecting the gesso or the very last artwork.
Ignoring Humidity and Temperature:
Environmental conditions, which include humidity and temperature, can appreciably impact drying instances. Be aware of the conditions for your workspace and modify your approach hence.
The usage of the incorrect Gesso type:
The use of an incompatible gesso kind (e.g., the usage of oil-primarily based gesso below acrylic paint) can cause troubles with adhesion and drying times. Be aware of the conditions in your workspace and adjust your approach accordingly.
Using the Wrong Gesso Type:
Using an incompatible gesso type (e.g., using oil-based gesso under acrylic paint) can cause issues with adhesion and drying times. Ensure the gesso type matches your intended paint medium.
Overworking or Aggressively Sanding Gesso:
Be gentle when sanding gesso layers. Over-sanding can damage the gesso surface, and excessive sanding dust can also cause problems.
Failing to Clean Brushes and Tools:
After applying gesso, clean your brushes, palette knives, and other tools promptly to prevent gesso from drying on them, which can be challenging to remove.
Alternatives to Traditional Gesso for Faster Drying:
If you’re looking for alternatives to traditional gesso that dry faster, especially for acrylic painting, you have a few options. These alternatives are often referred to as “acrylic primers” or “acrylic grounds.” They provide similar surface preparation benefits as traditional gesso but may dry more quickly. Here are some alternatives to consider:
Acrylic Gesso:
Acrylic gesso is already a quick-drying option compared to oil-based gesso. It typically dries to the touch in 15-30 minutes, making it a suitable choice for acrylic painters who want to work on their surfaces without much delay.
Acrylic Matte Medium:
The acrylic matte medium can be used as a primer or ground for your painting surface. It dries relatively quickly and provides a matte surface suitable for painting.
Acrylic Grounds:
Some companies offer acrylic-based grounds that are designed for fast drying and come in various textures. These grounds can be applied to various surfaces, such as canvas or paper.
Clear Gesso:
Clear gesso is essentially an acrylic gesso without the white pigment. It dries faster than traditional white gesso and maintains the texture of the support. It’s often used when artists want the texture of the canvas or support to show through.
Acrylic Paint:
You can also use acrylic paint as a base layer. Simply dilute the paint with water or an acrylic medium, apply it to your surface, and let it dry. This method is quite fast, especially for thin applications.
Acrylic Spray Primer:
Acrylic spray primers are available in aerosol cans and can be a quick way to prime a surface. They dry rapidly and provide a smooth base for painting.
Acrylic Pumice Gel or Modeling Paste:
If you want a textured surface, consider using acrylic pumice gel or modeling paste. These mediums dry relatively quickly and can add texture to your support.
Acrylic Washes:
You can create thin acrylic washes by diluting acrylic paint with water or acrylic medium. These washes dry quickly and can be built up in layers to create a suitable painting surface.
How to Properly Store Gesso to Maintain its Drying Properties:
Proper storage:
Proper storage of gesso is essential to maintain its drying properties and prevent it from deteriorating. Gesso, like other art supplies, can be sensitive to environmental factors, so here are some tips for storing gesso effectively:
Keep Gesso Sealed:
Ensure the container or bottle of gesso is tightly sealed when not in use. This prevents air from entering and causing the gesso to thicken or dry out prematurely.
Store in a Cool, Dry Place:
Gesso should be stored in a cool, dry area. Avoid storing it in direct sunlight, as exposure to heat and UV light can negatively affect its properties.
Avoid Extreme Temperatures:
Gesso can be sensitive to extreme temperatures. You should avoid storing it in very hot or very cold conditions. Temperature fluctuations can cause changes in the gesso’s consistency.
Prevent Freezing:
If you’re storing gesso in a location where freezing temperatures are a concern, make sure it doesn’t freeze. Freezing can alter the gresso’s texture and make it less effective.
Keep Containers Clean:
Ensure the container or bottle is clean and free of dried gesso on the rim or cap. This prevents contamination and ensures a proper seal.
Mix Well Before Use:
Before using gesso that has been sitting for a while, give it a good stir or shake to ensure that any components that may have settled are well-mixed. This helps maintain consistent drying properties.
Store Upright:
Store the container or bottle of gesso upright. This helps prevent leakage or seepage around the cap or lid.
Label the Container:
If you have multiple containers of gesso with different formulations or uses, label them clearly to avoid confusion.
Keep Moisture Out:
Make sure the gesso remains dry. Moisture can lead to clumping or mold growth, which can ruin the product.
Use Clean Tools:
When applying gesso to a surface, use clean brushes or tools to avoid introducing contaminants into the container.
Check Expiration Date:
Some gesso products have expiration dates. Be sure to check for any recommended use-by dates on the packaging.
Conclusion:
Knowing how long it takes for the gesso to dry is important for artists to plan their portrayal system correctly. The drying time of gesso can be inspired by using various factors which include utility thickness, temperature, humidity, and the kind of gesso used. By following the tips referred to in this text and heading off not-unusual mistakes, you could speed up the drying process of gesso without compromising the greatness of your artwork.
Remember to test the gesso for complete dryness before proceeding with painting and consider alternatives for faster drying when time is of the essence. Properly storing gesso will ensure its longevity and maintain its drying properties. So, embrace the world of gesso and unleash your creativity on a perfectly primed surface!
FAQs About How Long Does It Take For Gesso To Dry?
Can I paint on the gesso before it’s fully dry?
It is not advisable to paint on gesso before it’s fully dry as it can affect the adhesion and longevity of the paint layers.
Can I speed up the drying time of gesso by using a fan?
While a fan can help with air circulation, it is not recommended to use it directly on the gessoed surface as it can cause uneven drying and potential cracking.
Am I able to follow a couple of layers of gesso without watching for every layer to dry?
It’s far more satisfactory to permit every layer of gesso to dry completely before applying the next layer to ensure proper adhesion and save you from cracking.
Can I blend my personal gesso?
Yes, you could blend your own gesso using a combination of a binder, such as acrylic polymer, and a white pigment. However, it’s vital to comply with a dependable recipe and punctiliously blend the components to gain a constant texture.
What’s the complete drying time for gesso?
For complete drying, especially for thicker applications, allow a minimum of 24 hours. Factors like thickness, temperature, humidity, and ventilation can influence this time.
2 thoughts on “How Long Does It Take For Gesso To Dry?”